Sunday, July 3, 2011

It's launch time!!!!


The smile says it all!
Coming in for a landing, or is it a beaching?
Axel and Grandpa on the maiden voyage, yipee!!
Paul Trame helps with the launch and Joe Garrett supervises!!

Rod christens the hull with a couple of fine Michigan Micro Brews.
Neighbors gather to see if it really floats!?!?

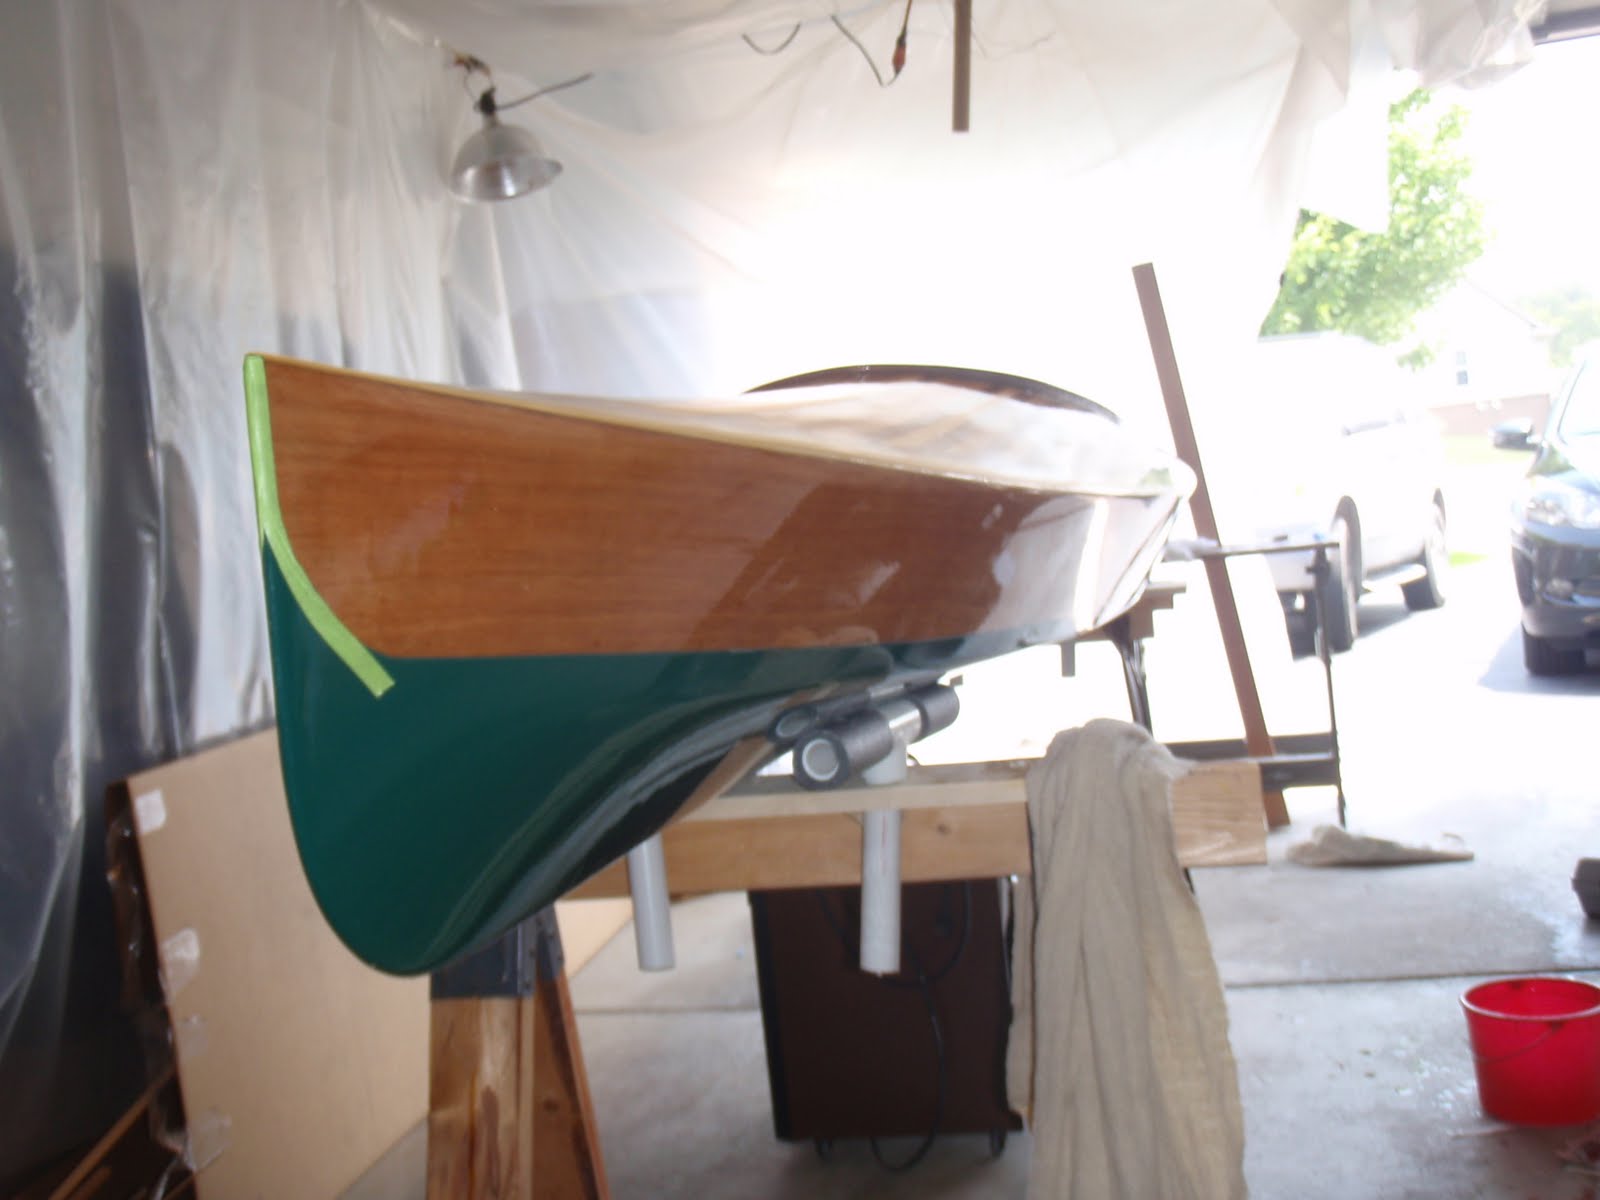
Neighbors check out the Wood Duck 12

Axel checks it out before we head across the street for the launch.
Our neighbor and friend Guy Runyan put a fan out email to our condo community.  Thanks Guy for helping make this launch a memorable event!  It was a short notice announcement as I was shooting for July 3rd but wasn't sure that I would be ready.  We had Grandson , Axel and company(his Mom--Jenn and Dad-- Andy, Aunt Meg, and Grandma Patty) at the launch as well as about 30 neighbors and friends.  We christened it with an Anglers Ale and an Oarsman Ale---both fine Michigan Micro Brews.  We had neighbors with American Flags, a Music box played "Stars and Stripes Forever".  A neighbor offered a blessing and off I went into the pond behind our condo.  It was a successful launch and Axel even went for a short ride!!  This project took 120 hours and 7 months.  Worth the effort and lots of fun to have the project turn out so nice!!

It's all in the details


After the 4th coat of varnish I am tired of dealing with 95 degree weather and high humidity.  The kayak looks good from 5 feet away and I plan on launching it this afternoon.  I will do another couple of coats of varnish in the fall when the temps are in the 70's. But first the details....brass pad eyes with toggles, delrin hatch cover toggles, install creature comfort seat, and bolt down the foot braces

Sanding, Painting, varnishing

 Fourth coat of varnish on deck only
  Three coats of varnish
 3 coats of "sea green" marine polyurethane paint on the bottom
Two coats of primer

Friday, June 17, 2011

Looks almost done...still lots of sanding, painting, sanding, varnishing, sanding and varnishing, etc........................

 looks good, but now I have to sand the whole kayak, put on another skim coat of epoxy, THEN sand the whole thing again and start the painting and varnishing, painting and varnishing...............
kayak on end so that I can pour 8oz of epoxy into the bow for strength

A nice seat and cool paddle!!
cockpit combing and hatch assembly glued on, last of the big pieces!!!!!!
The last clamp comes off, yipee!!
All these clamps are hard work

Wednesday, June 1, 2011

Attaching the deck to the hull

deck is taped to the hull and ready for epoxy and fiberglass tape
Axel is happy with the project so far


Bulkhead has the builders mark


Axel helps attach the deck
removed the temporary bulkheads

Friday, May 6, 2011

Take it apart and glass and epoxy the underside of the deck

 I have carefully removed the deck and have glassed the underside and done a second coat of epoxy to fill the weave, I also put a second piece of glass about 10 inches wide behind the cockpit to reinforce the area that you sit on for entry.

Now the temporary bulkheads will get removed and I will clean up the inside of the hull so I can glue the deck on

Back to work after the cast came off. This is good therapy for my wrist


The cedar strip deck is done!  Now it is time to pop off the deck and glass and epoxy the underside of the deck.